How to photograph a house for sale with your phone
Light, height, straight walls, the order of the rooms and honest editing. Everything you need to photograph a house for sale with the phone already in your pocket.
Most property listings are shot on a phone, between two viewings, and it shows. Not because the phone is bad: today’s sensors are more than enough for a listing. What is missing is a dozen habits photographers have without thinking about them.
I gathered them here while building Maiso, my real estate photo editing software. Everything below works without it: a good original is still the best edit there is.
Prepare the room before you take the phone out
This is the step with the best return, and the one most often skipped. A room takes five minutes to tidy. A cluttered photo never fully recovers.
- Clear the surfaces. Worktops, tables, bedside tables, the edge of the bath: keep one or two objects, no more.
- Hide everyday life. Tea towels, toothbrushes, bins, chargers, bath mats, fridge magnets.
- Open everything that opens. Shutters, curtains, blinds. Daylight is the best light a listing can get.
- Switch on every lamp. Even in broad daylight, they fill the dark corners and add warmth.
- Close the toilet lid, straighten the sheets, line up the chairs. These are the details the eye catches first.
How to photograph a house for sale: the settings that matter
There is almost nothing to set on a phone, but three things make all the difference.
Hold the phone perfectly upright. This is the number one flaw in listing photos: as soon as the phone tilts down or up, the walls start to converge and the room looks like it is falling over. Turn on the camera grid and line a vertical up with the corner of a wall or a door frame.
Shoot from chest height. Roughly 1.2 to 1.5 metres. Higher, and you see too much floor while the furniture shrinks. Lower, and you see too much ceiling. At chest height, the room looks the way it does when you walk in.
Stay in landscape. Listing portals display horizontal photos. A vertical photo loses half its area there.
For everything else, let the phone decide: automatic HDR, automatic focus. If a window blows out completely, tap the brightest area on screen and pull the exposure slider down slightly.
The wide angle, in moderation
The 0.5× mode on phones is tempting: it gets the whole room into the frame. But it stretches the edges and the furniture, and makes a bedroom look bigger than it is. Buyers notice at the viewing, and that is a bad surprise you prepared for them.
My rule: 1× by default, 0.5× only for small rooms you cannot show any other way, such as a shower room or a hallway. And then pay extra attention to the verticals, which the wide angle exaggerates.
Where to stand in the room
Shoot from one corner of the room, aiming at the opposite corner. That shows two walls and gives depth. Facing a wall, the photo goes flat.
Two or three photos per main room are enough: an overview from the doorway, a view from the opposite corner, and possibly one detail that sells (a fireplace, a glass roof, a view). For the secondary rooms, one well-framed photo beats three average ones.
The order of the photos matters too. Open with the strongest room, often the living room or the outside, not the hallway. The first photo decides the click.
The right time of day
Indoors, the middle of the day avoids harsh sunbeams painting patches on the floor. Outdoors, look for the time when the sun lights the front of the house, not when it sits behind it: a backlit facade comes out black.
A grey sky is not a deal breaker indoors. Outdoors it matters more, and it is one of the rare cases where editing really helps.
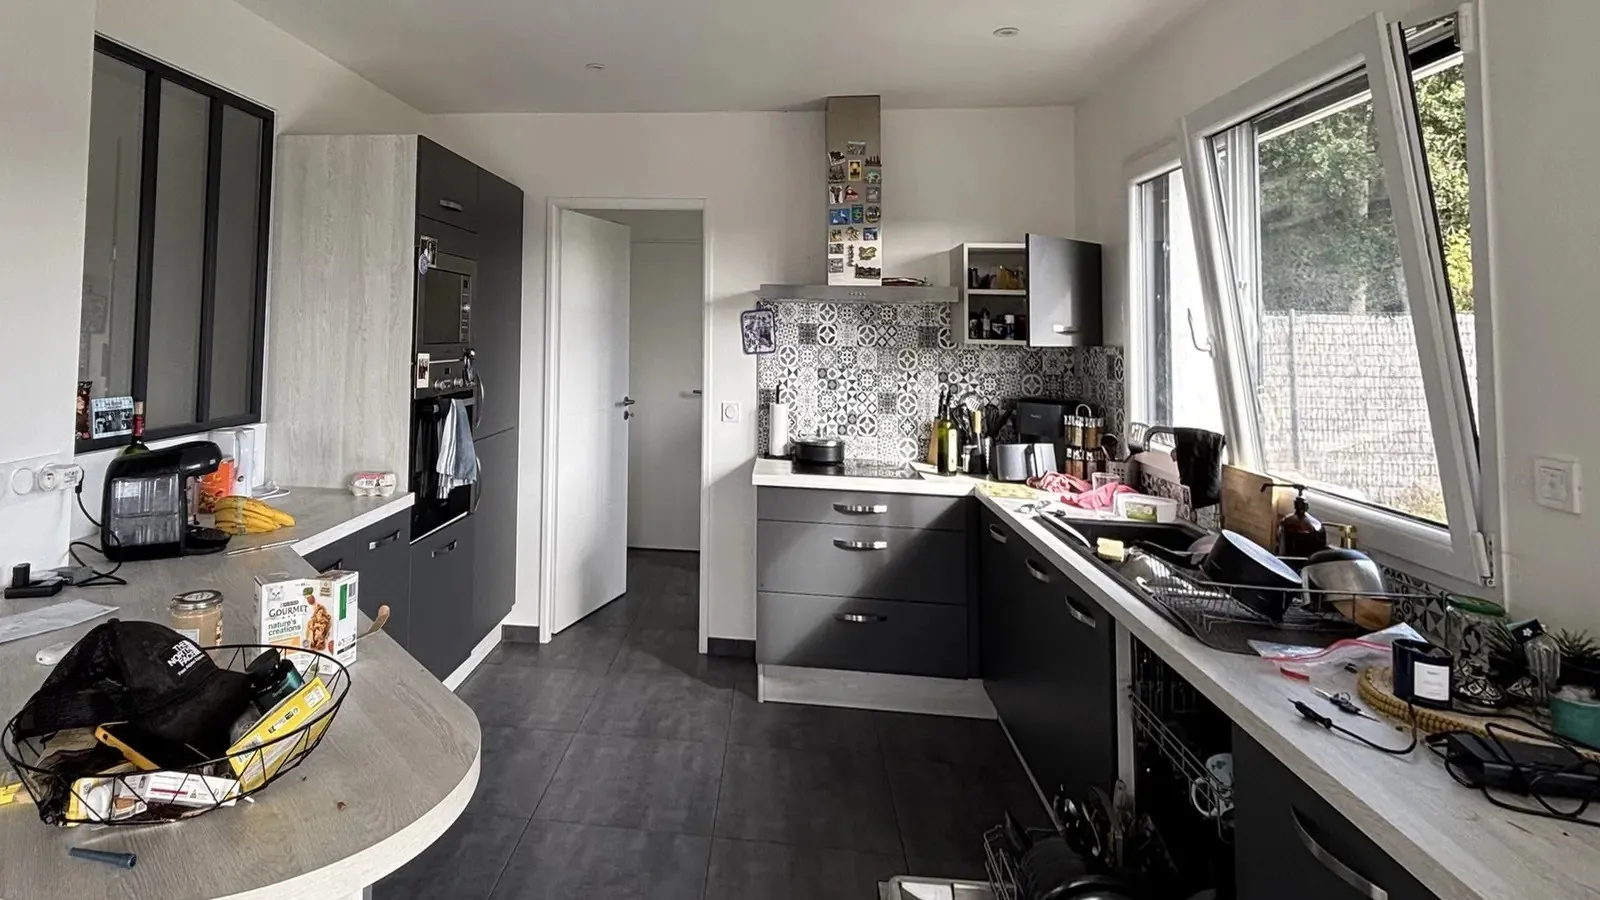
Edit without misleading the buyer
Once the photos are taken, editing does the rest: open up the light, straighten walls that still lean, bring the whites back, erase a forgotten object. Nobody holds it against a listing for being bright.
The line is showing a property that does not exist. I draw it in three levels:
| Level | What changes | What to say |
|---|---|---|
| Correction | Light, verticals, colour, object removed. The property has not changed. | Nothing |
| Enhancement | A blue sky, an existing lawn made greener, pool water. | Nothing |
| Simulation | Room emptied or furnished, walls repainted, floor replaced. | Label it on the photo |
Virtual staging belongs to the third level. It is very useful to show the potential of an empty room, as long as the photo clearly says it is a simulation. An edited photo that misleads buyers can count as misleading advertising, and above all it wrecks trust at the first viewing.
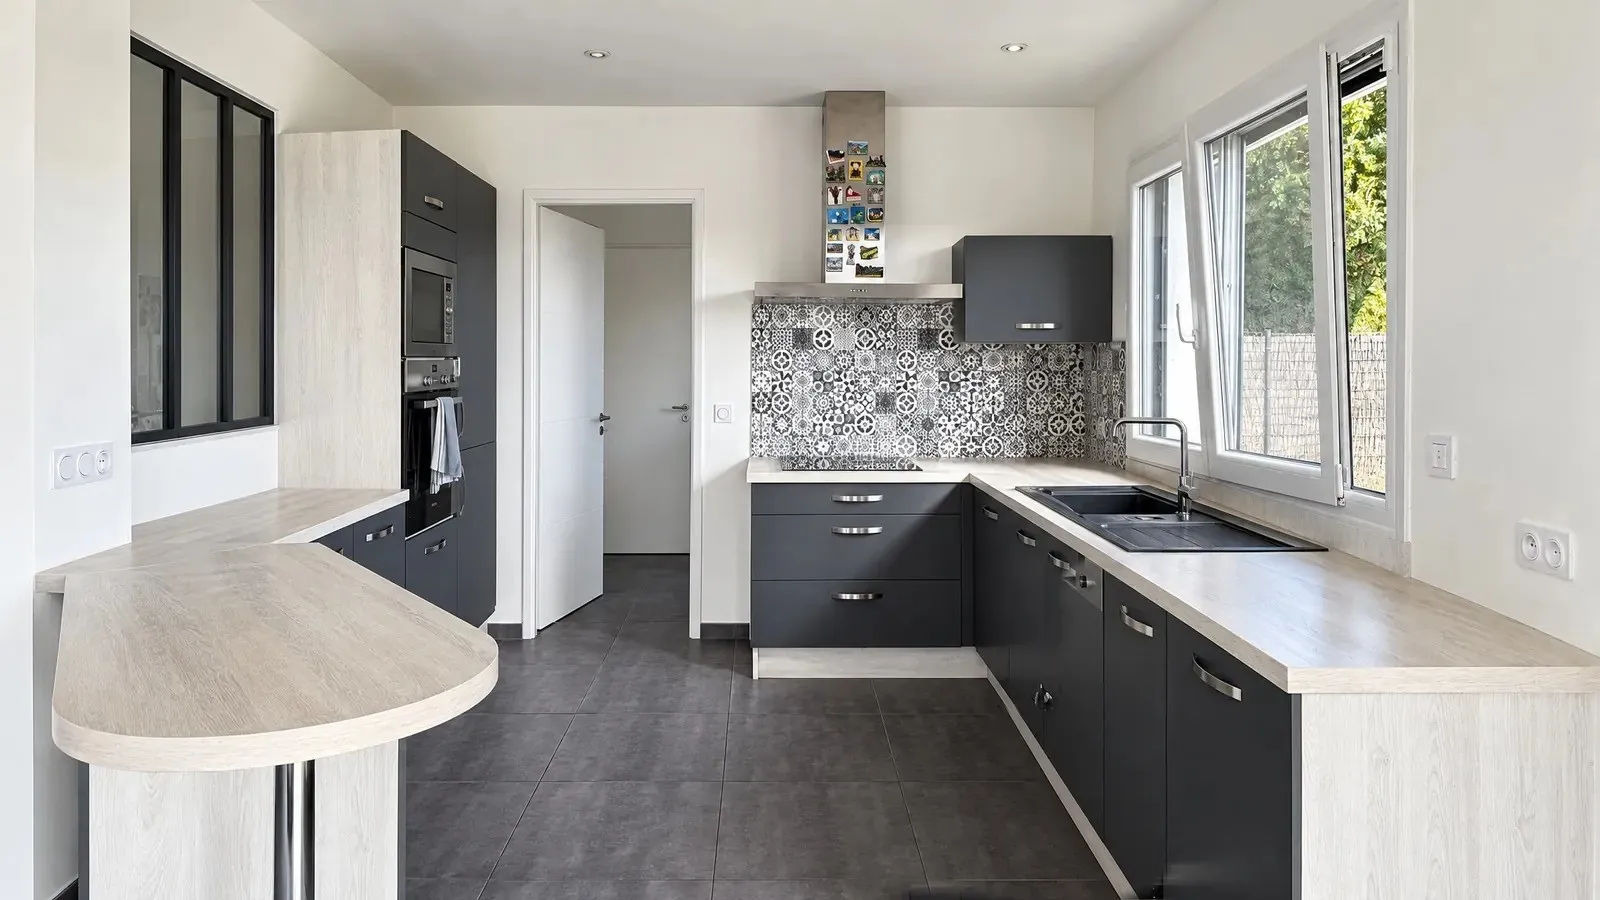
That is exactly what Maiso does: Enhance fixes light, verticals, colour and detail in one pass, Declutter removes the mess, and every simulation carries a Simulation label on export. The original is never overwritten.
The checklist to keep in your pocket
- Tidy up, open the shutters, switch on every lamp.
- Turn on the camera grid.
- Landscape, chest height, phone perfectly upright.
- 1× zoom by default, 0.5× only for small rooms.
- From one corner towards the opposite one. Two or three photos per main room.
- The facade when the sun is on it.
- Edit light and verticals, label any simulation.
- Open the listing on the strongest room.
With these eight points, a phone takes perfectly decent listing photos. Editing comes afterwards, to go from decent to remarkable, not to rescue a failed shot.
