
How to make a clean timelapse with an iPhone
To make a timelapse you need three numbers and one lock. Here is how to work out the interval, avoid flicker, and not waste an hour-long session.

Photo and video
Interval Pro
Interval Pro is the timelapse app that locks ISO, shutter and white balance to kill the flicker, and works the interval out for you before you start.
Capture is never limited: every manual control, both modes, and three full-quality exports to start with. Interval Pro unlocks 4K with no watermark for $6.99, once, with no subscription.
4 locks
ISO, shutter, white balance and focus, against the flicker
0.5 s to minutes
a free interval, computed in either direction
HEIC kept
the photos are never deleted, so you re-export whenever you want
01 The starting point
The native iOS camera can shoot a timelapse. It has exactly one button, no settings, and it picks the interval on its own based on duration. For clouds from a balcony, that is plenty.
The moment you aim at anything else, two problems appear. The first is flicker: between two frames the camera readjusts exposure and white balance, and on a sunset those micro-corrections produce constant blinking in the final video. The second is that you control neither the length of the result, nor the aspect ratio, nor the export quality.
Interval Pro does the opposite. It takes a series of still photos at full quality, at the interval you decide, with the settings you lock, and only assembles the video afterwards.
The flicker in a timelapse doesn't come from the light. It comes from the camera correcting itself between two frames.
02 The capture
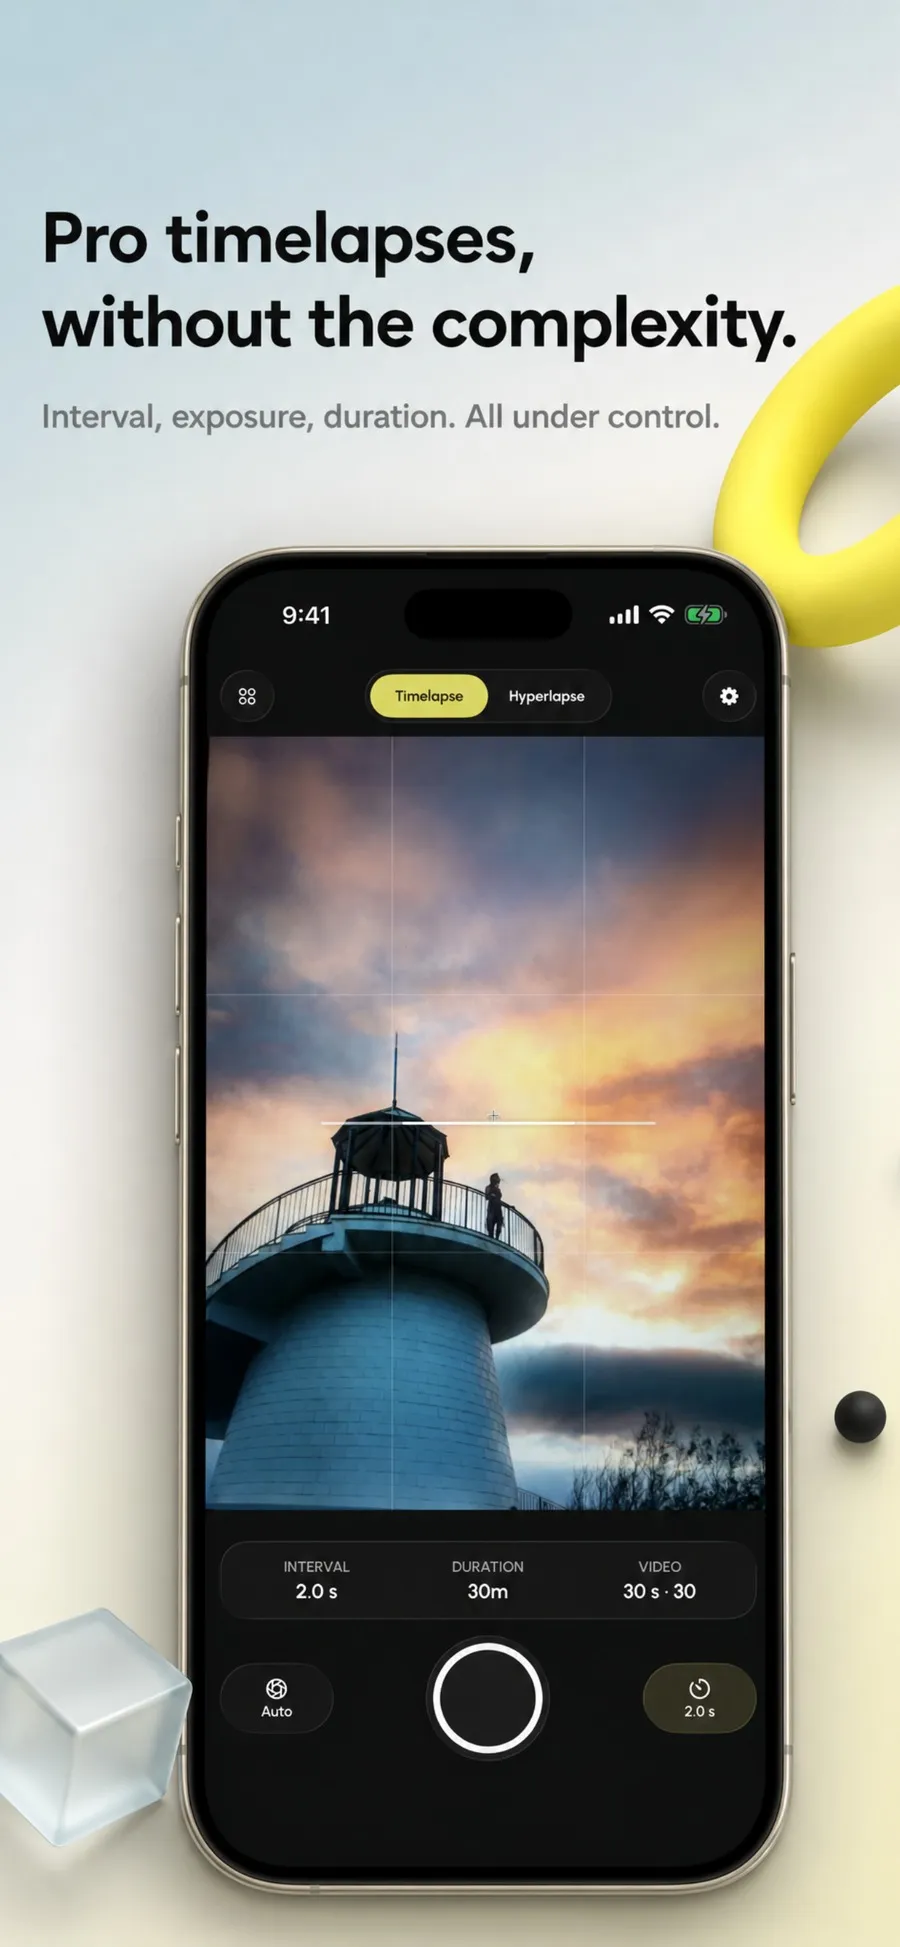
ISO, shutter speed, white balance and focus are set by hand, and above all locked. The locking is what matters: it freezes exposure for the whole session, which removes the automatic readjustments from one photo to the next.
That is the difference between a timelapse that blinks and a clean one, and it is almost always what free apps are missing. Automatic stays available for scenes where the light changes a lot, but the choice is yours.
The capture screen permanently shows the interval, the elapsed time and the length of the final video. During the session the interface fades towards black: only the counter and the progress ring remain, so as not to light the scene or drain the battery.
03 The interval
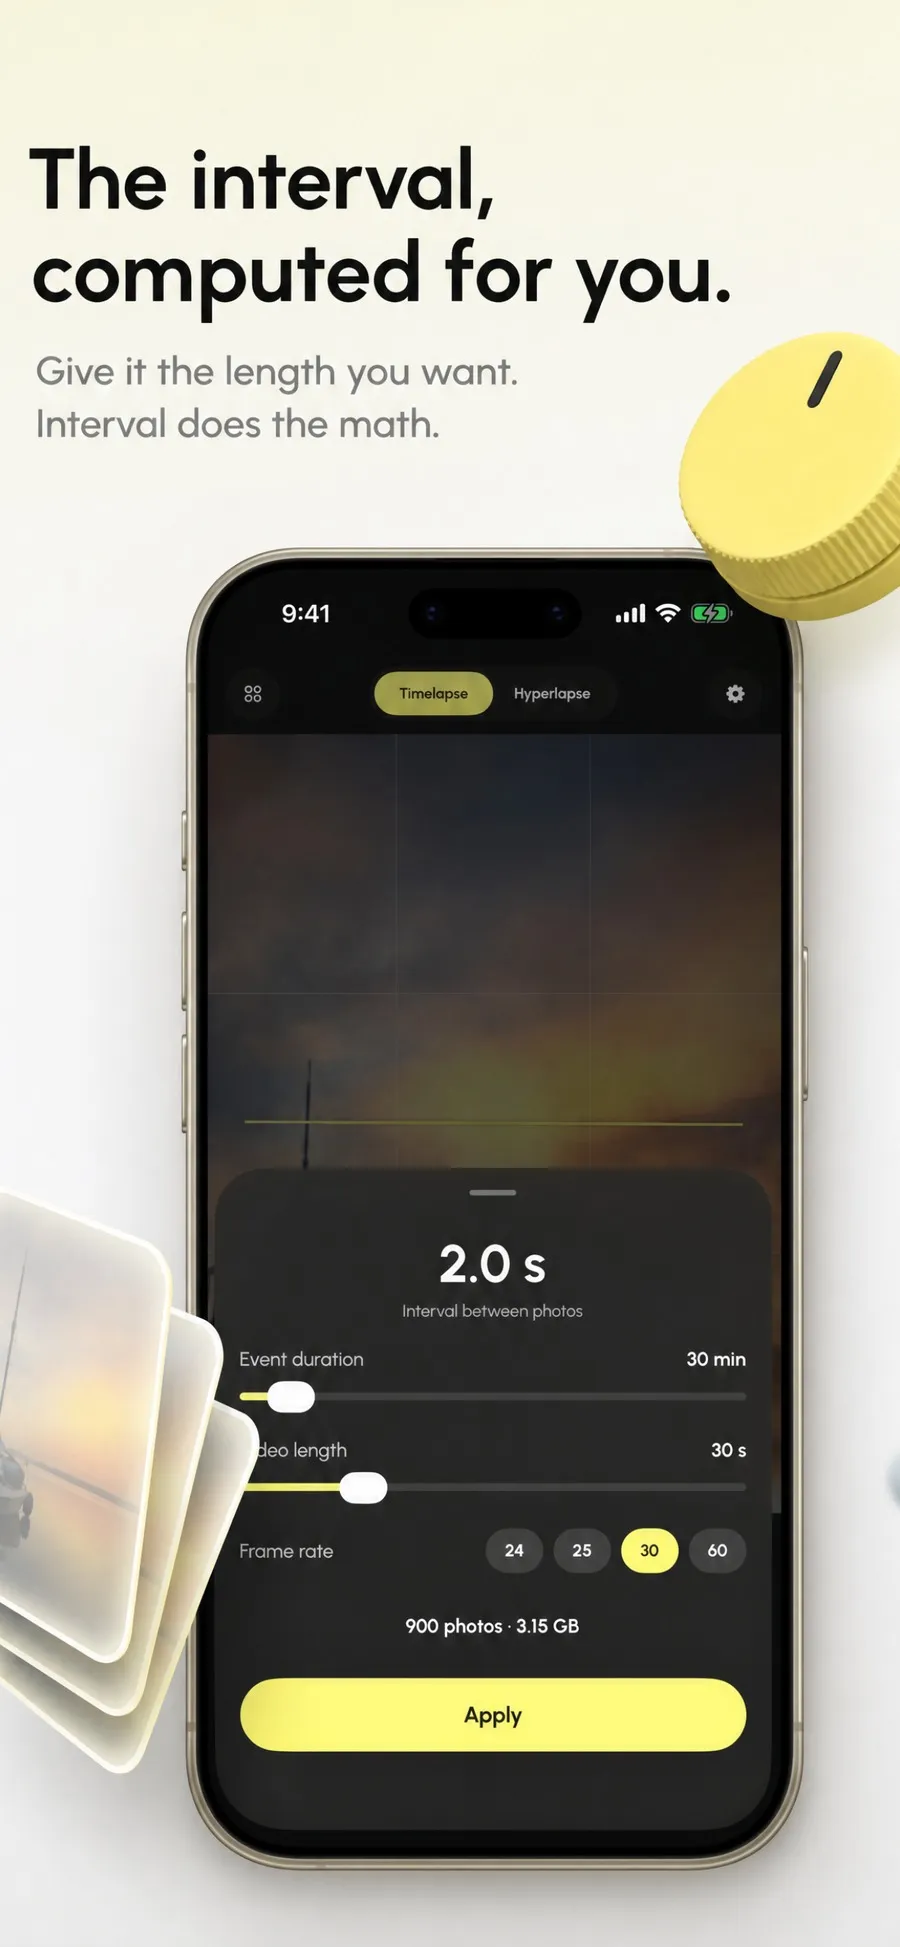
A timelapse is an equation with three unknowns: the real duration of the scene, the length of video you want, and the interval between frames. Fix two and the third follows. Almost nobody does that arithmetic correctly in the field.
The calculator works in both directions. Either you give the event duration and the video length, and the app produces the interval. Or you give the interval, and it tells you how long the result will run.
Before starting, it shows what the session will actually cost: the number of photos, the disk space, the battery left. In the screenshot, thirty minutes of event at a two second interval gives 900 photos and 3.15 GB.
And if the numbers don't add up, it refuses to start. A session cut short halfway by a full disk produces nothing usable, so you may as well know before you set the tripod down.
04 The hyperlapse
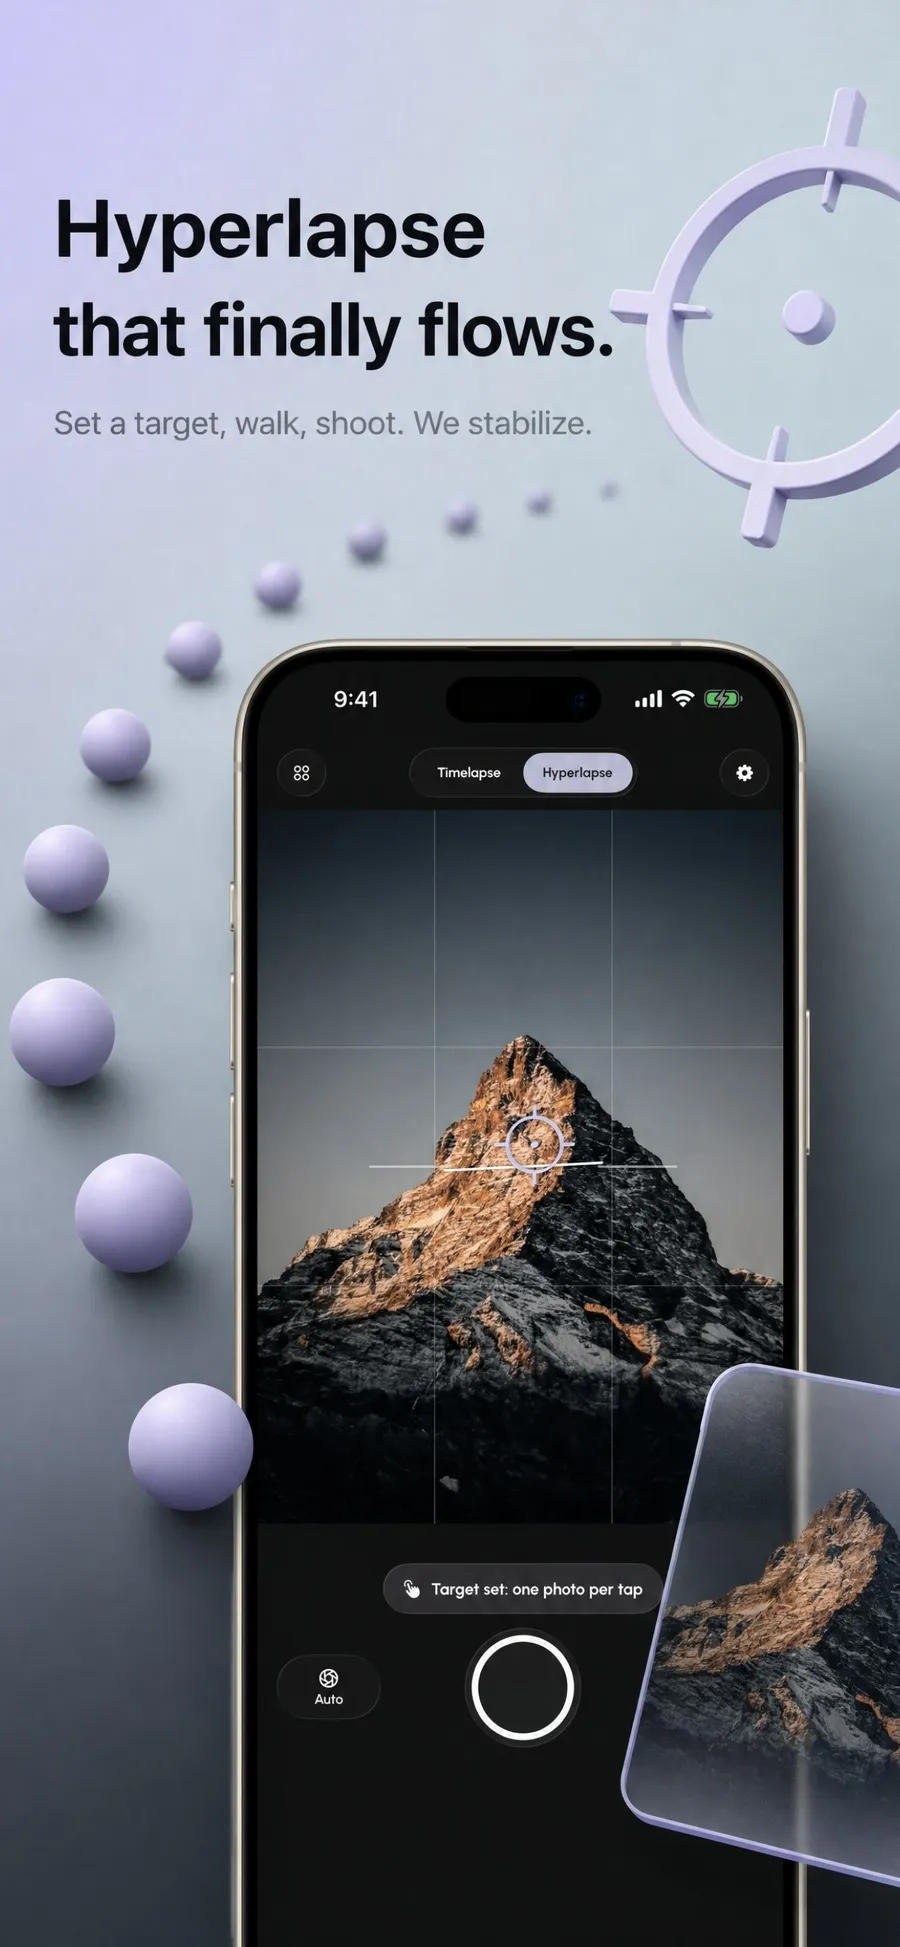
In hyperlapse, the photographer moves between each shot. The whole difficulty is keeping the same subject in the same place in the frame across hundreds of steps.
The app gives you two aids. An anchor point, placed with your finger before the first photo, which stays on screen as a target. And a ghost frame: the previous photo stays overlaid in transparency on the viewfinder, so you can line the next one up almost exactly.
The rest is handled at assembly. Photos are analysed in pairs, the trajectory is smoothed, then each frame is cropped to compensate for the remaining drift. The crop runs from 8 to 20 per cent depending on the real amplitude of the movement, and never more than needed.
05 The frame
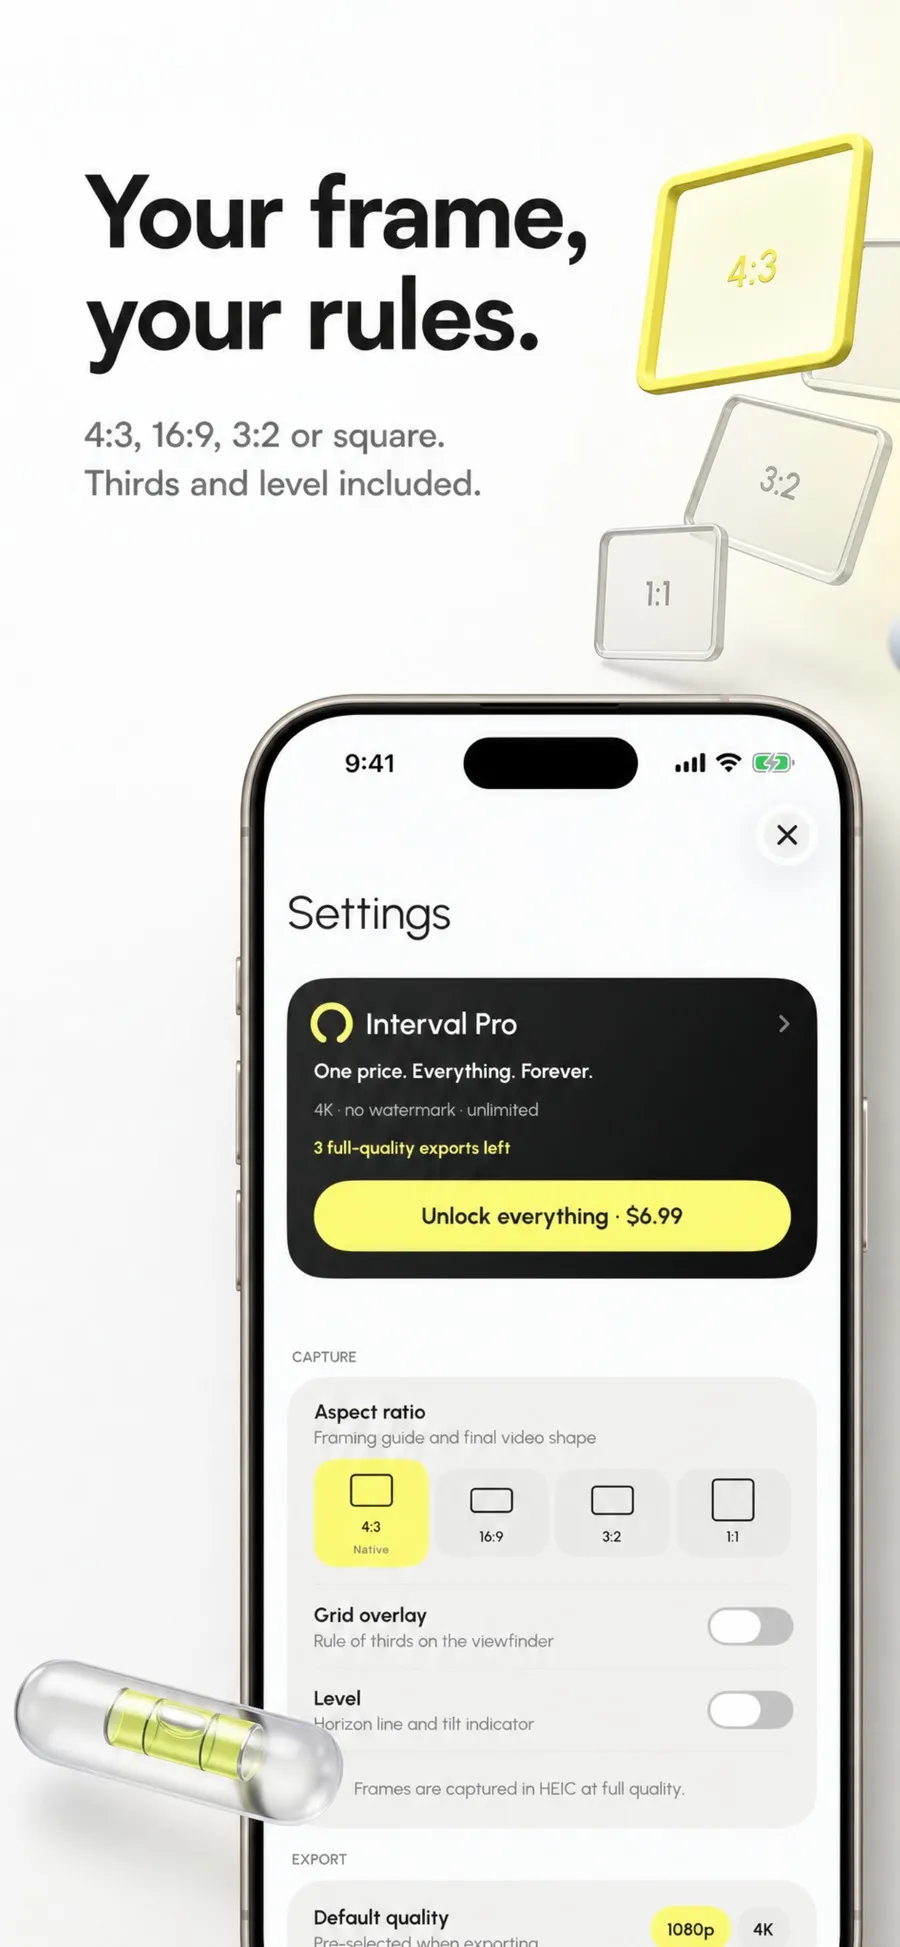
Four ratios: the sensor's native 4:3, 16:9, 3:2 and square. The frame is drawn on the viewfinder before capture, which saves discovering in the edit that you cut the top off the building.
The thirds grid recalculates for the chosen ratio, and a horizon level shows the camera's lateral tilt from the gravity vector. Over an hour long session, a horizon two degrees off cannot be rescued.
The settings also say what matters for long sessions: plug the iPhone in beyond an hour, the screen dimming itself during capture, and guided access to lock the phone onto the app.
06 The projects
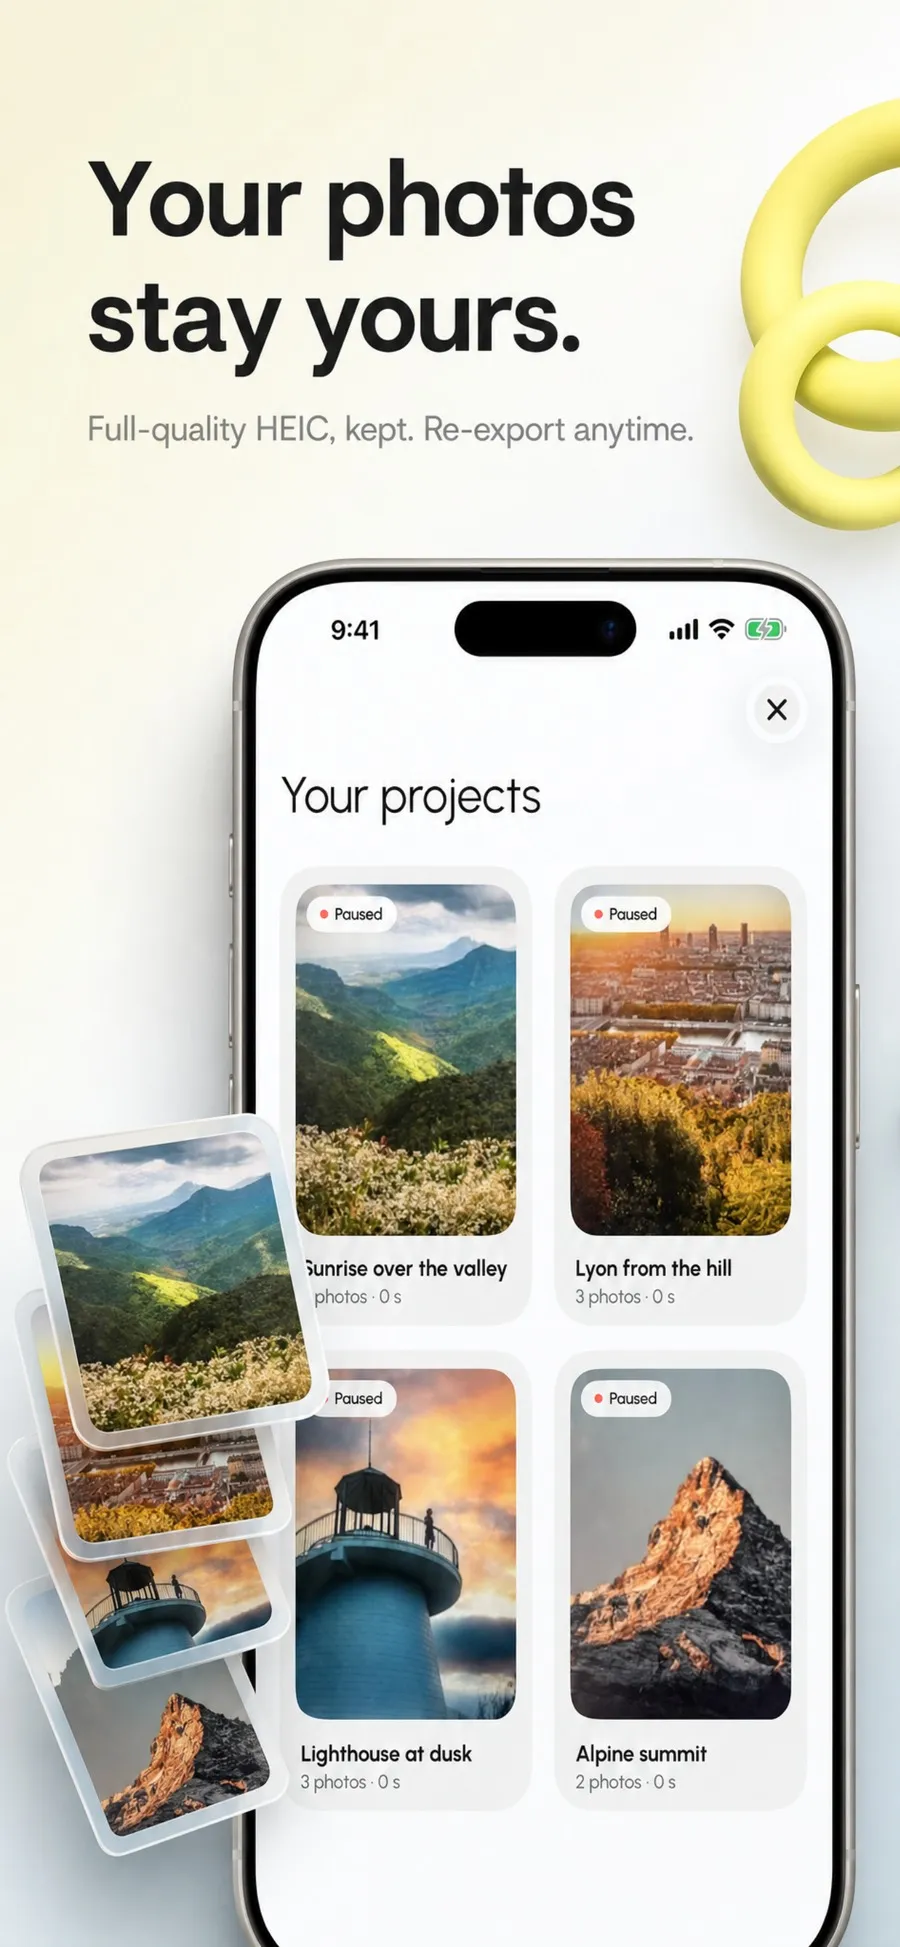
Every session becomes a project holding the photos in full-quality HEIC, a thumbnail, and the exports already made. The photos are not erased after export, ever.
It is the architectural choice I am happiest with, because it makes the past reversible. A sequence captured today in 1080p can be re-exported in 4K six months from now, or in another ratio, or at another frame rate, with nothing to recapture.
Assembly is streamed: the app never holds the whole sequence in memory, which lets it handle thousands of photos without choking the iPhone. Output is HEVC, 24 or 30 frames per second, saved straight into the photo library.
ISO, shutter, white balance and focus frozen for the whole session.
Scene length and video length give the interval, or the other way round.
Photo count, disk space and battery are all stated before you start.
Capture is always free. Only 4K export without a watermark is paid for, once.
The app doesn’t shoot video in the ordinary sense. It takes still photos and assembles them, which is exactly the definition of a timelapse but still surprises people: there is no sound, and no slow motion.
It doesn’t stabilise a static timelapse either. Stabilisation only applies to hyperlapse, where it means something. On a tripod there is nothing to correct.
Finally, it doesn’t replace an external intervalometer on a DSLR. An iPhone left on a balcony for six hours will make a very good timelapse, but it will need to be plugged in, and the app says so rather than letting the battery decide.
This is the safeguard I am happiest with, and it fits in one sentence: before starting, the app works out the photo count, the disk space needed and the battery remaining, and it refuses to begin if the numbers don’t add up.
That sounds minor. It isn’t, because a timelapse failure isn’t visible during the session. You set the tripod down, you walk away for an hour, and you come back to find capture stopped at photo three hundred and twelve. There is no second chance: the light has gone.
The message also says what to do rather than what failed. “Not enough space for 840 photos, free up 4 GB or shorten the duration” is useful. “Write error” is not.
Because the native app has no settings. It picks the interval itself and readjusts exposure between frames, which produces constant flicker on scenes where the light changes. Interval Pro lets you lock ISO, shutter, white balance and focus for the whole session.
From the camera, not the scene. Between two frames, auto exposure and white balance readjust by a few per cent. Those micro-corrections become a blink once the frames are assembled at twenty-four per second. Locking the settings removes it.
It is an equation with three unknowns: scene duration, wanted video length, interval. The app's calculator works both ways, so you set the two values you know and it gives the third, along with the photo count and the disk space needed.
In timelapse the iPhone is still on a tripod and the app fires on its own. In hyperlapse you move between each shot. The app then shows an anchor point to aim at and the previous frame in transparency, then stabilises the sequence at assembly.
Yes, as many times as you like. The photos are kept in full-quality HEIC and are never deleted after an export. So a session captured today can come out in 4K six months from now, or in a different ratio.
All the capture, with no limit: every manual control, both modes, the free interval and the projects. Export is 1080p with a watermark, and three full-quality exports are given up front so you can judge the real result.
$6.99 as a single, permanent purchase. It unlocks 4K export, with no watermark and no limit on how many. There is no subscription.
The app tells you before you start. For example, thirty minutes of event at a two second interval gives 900 photos and around 3.15 gigabytes in full-quality HEIC.
Download
Interval Pro is on the App Store.